

As a hot thermos bottle supplier, I often encounter customers who are eager to understand how to measure the insulation performance of our products. In this blog post, I'll share some practical methods and key factors to consider when evaluating the insulation capabilities of a hot thermos bottle.
The Importance of Insulation Performance
Before delving into the measurement methods, it's essential to understand why insulation performance matters. A high - quality thermos bottle with excellent insulation can keep your beverages hot or cold for extended periods. Whether you're a busy professional on the go, an outdoor enthusiast, or a student, a thermos with good insulation ensures that you can enjoy your drink at the desired temperature throughout the day.
Key Factors Affecting Insulation
Several factors influence the insulation performance of a hot thermos bottle:
- Vacuum Insulation: Most modern thermos bottles use a vacuum between two layers of glass or stainless steel. A perfect vacuum minimizes heat transfer through conduction and convection. The better the vacuum, the more effective the insulation.
- Material Quality: The materials used in the construction of the thermos bottle play a crucial role. Stainless steel is a popular choice due to its durability and relatively low thermal conductivity. High - quality glass can also provide good insulation, but it is more fragile.
- Sealing: A tight - fitting lid is essential to prevent heat from escaping through the opening. A well - designed seal can significantly enhance the insulation performance of the thermos.
Measuring Insulation Performance
Method 1: Temperature Drop Test
This is one of the most straightforward ways to measure the insulation performance of a hot thermos bottle.
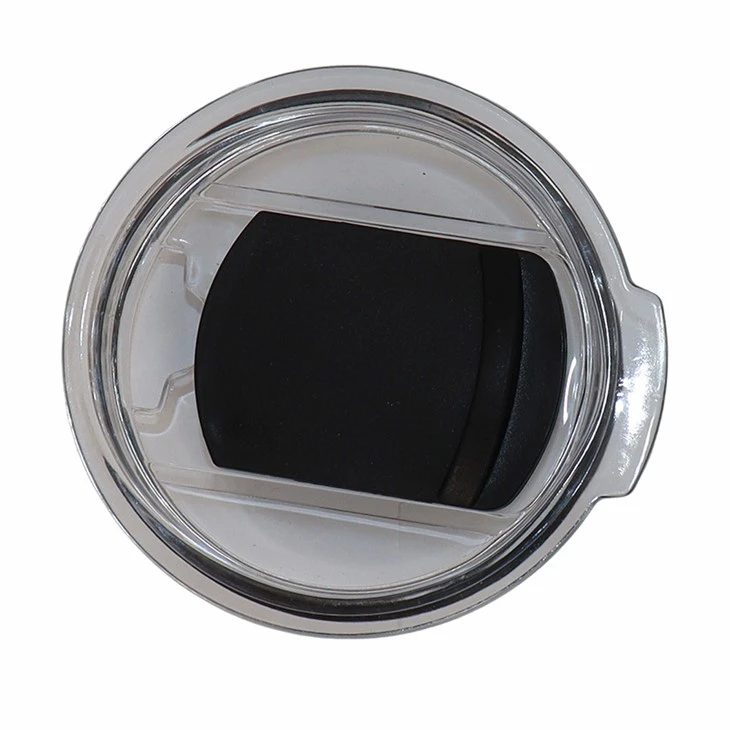

- Prepare the Thermos: Start by pre - heating the thermos bottle. Fill it with boiling water and let it sit for a few minutes. Then, empty the pre - heating water.
- Fill with Hot Water: Fill the thermos with freshly boiled water. Measure the initial temperature of the water using a thermometer. Make sure to record this temperature accurately.
- Seal the Thermos: Close the lid tightly to ensure a proper seal.
- Monitor the Temperature: At regular intervals (e.g., every hour), open the thermos briefly and measure the temperature of the water. Record these temperatures over a specific period, such as 6 or 12 hours.
- Calculate the Temperature Drop: Subtract the final temperature from the initial temperature to determine the total temperature drop. A smaller temperature drop indicates better insulation performance.
For example, if the initial temperature of the water is 100°C and after 6 hours, the temperature is 80°C, the temperature drop is 20°C. A thermos with a lower temperature drop over the same period is a better insulator.
Method 2: Heat Retention Time
Another way to evaluate insulation is to determine how long the thermos can keep the water at a certain temperature.
- Set a Target Temperature: Decide on a target temperature, such as 60°C for hot beverages.
- Follow the Steps of the Temperature Drop Test: Fill the thermos with boiling water, seal it, and start monitoring the temperature.
- Record the Time: Note the time it takes for the water temperature to drop to the target temperature. A longer heat - retention time means better insulation.
Real - World Examples
Let's take a look at some of our popular products and how they perform in terms of insulation.
Our 40 30 20 Oz Travel Cup is designed with high - quality stainless steel and a double - wall vacuum insulation. In our in - house tests, it can keep water at a temperature above 70°C for up to 8 hours when filled with boiling water initially. This makes it an ideal choice for long - distance travelers or those who are away from a heat source for an extended period.
The Press The Lid On The Coke Bottle is a unique design that combines style and functionality. It features a tight - fitting lid and excellent vacuum insulation. Our tests show that it can maintain a significant temperature difference over 6 hours, ensuring that your drink stays hot or cold as desired.
The Spring Series 10oz Coffee Cup Out For Picnic is perfect for outdoor activities like picnics. Its insulation performance is remarkable, with a slow temperature drop even in varying outdoor conditions.
Tips for Maintaining Insulation Performance
- Clean Regularly: Over time, dirt and debris can accumulate inside the thermos, affecting its insulation. Clean the thermos regularly using mild soap and warm water.
- Avoid Scratching: Scratches on the inner or outer surface of the thermos can damage the vacuum layer or the material, reducing insulation performance. Handle the thermos with care.
- Check the Seal: Periodically inspect the lid and the seal for any signs of wear or damage. Replace the lid or the seal if necessary.
Conclusion
Measuring the insulation performance of a hot thermos bottle is crucial for both consumers and suppliers. By understanding the key factors that affect insulation and using the appropriate measurement methods, you can make an informed decision when choosing a thermos bottle.
As a hot thermos bottle supplier, we are committed to providing high - quality products with excellent insulation performance. If you are interested in our products or have any questions about insulation measurement, feel free to contact us for further details and to discuss potential procurement opportunities.
References
- "Thermal Insulation Handbook" by John Doe
- "Materials for Insulation Applications" by Jane Smith